Enhancing Your Ride with Proper Suspension Setup Can Make a World of Difference to Your Experiences on The Trail
Setting up your mountain bike suspension correctly can revolutionize your riding experience. Incorrect pressure settings in your shocks can either limit your suspension travel or risk bottoming out, potentially causing damage to the shock, bike, or even yourself. To avoid these pitfalls, it’s crucial to invest time in correctly setting up your suspension before hitting the trails.
Key Measures for Ideal Suspension: Sag, Preload, and the Role of Shock Pumps
Sag and Preload Explained
Sag is the travel used by simply sitting on your bike, and it’s the cornerstone for rear suspension setup. Preload, typically associated with coil springs, is about pre-tensioning the spring for the right sag. It’s vital to select a spring that matches your weight to fine-tune sag correctly.
The Essential Tool: Shock Pumps
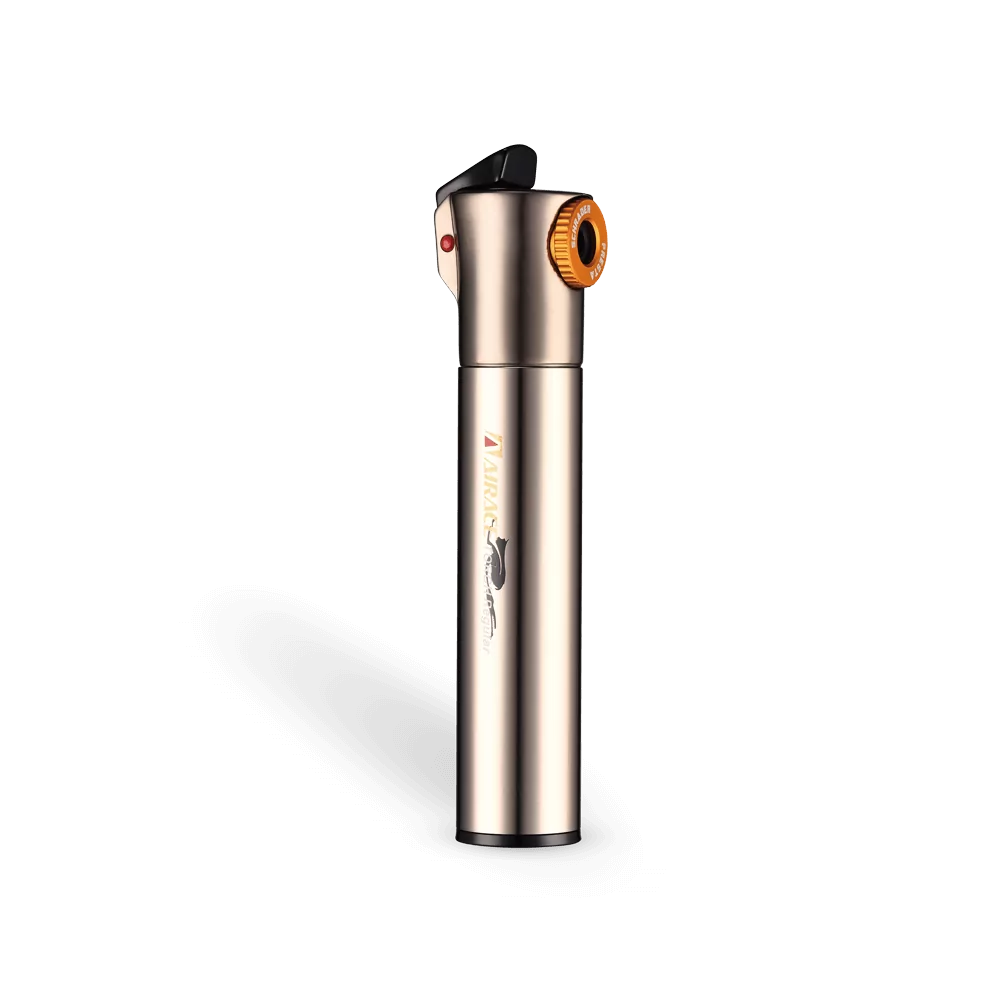
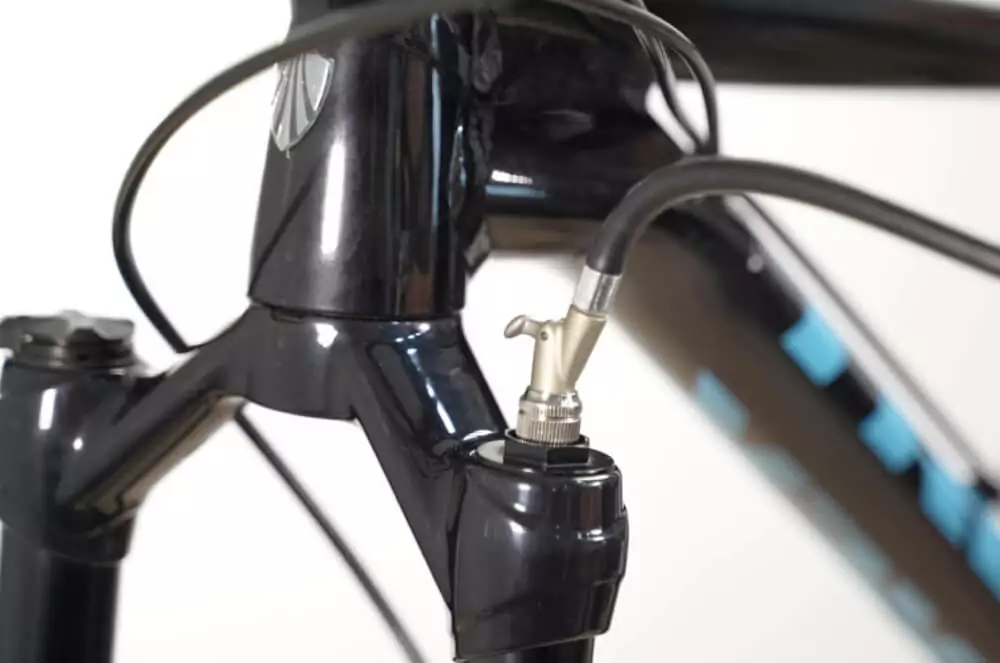
Adjusting sag is straightforward with a shock pump, a must-have tool for every mountain biker. Although you might borrow one from a friend, owning a shock pump (such as this one on Amazon) offers the flexibility to make adjustments anytime, anywhere.
Which Shock Pump Do You Need?
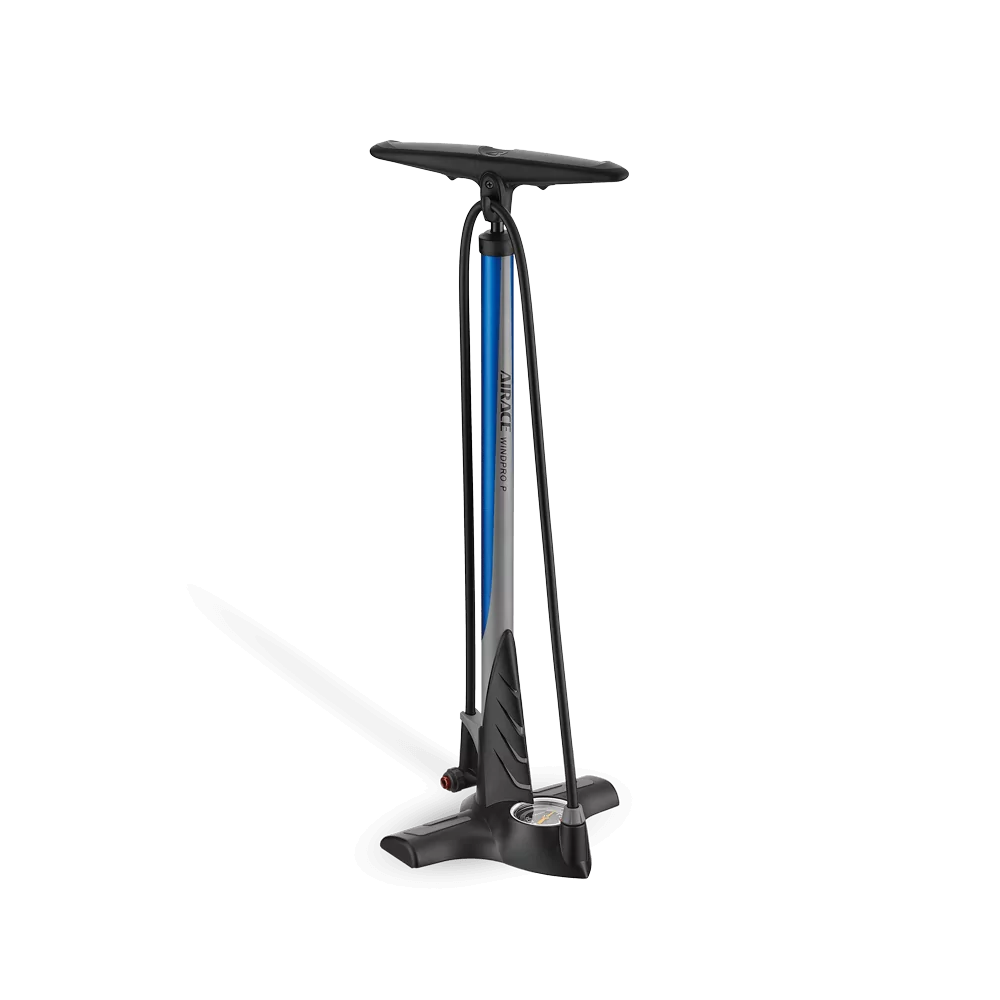
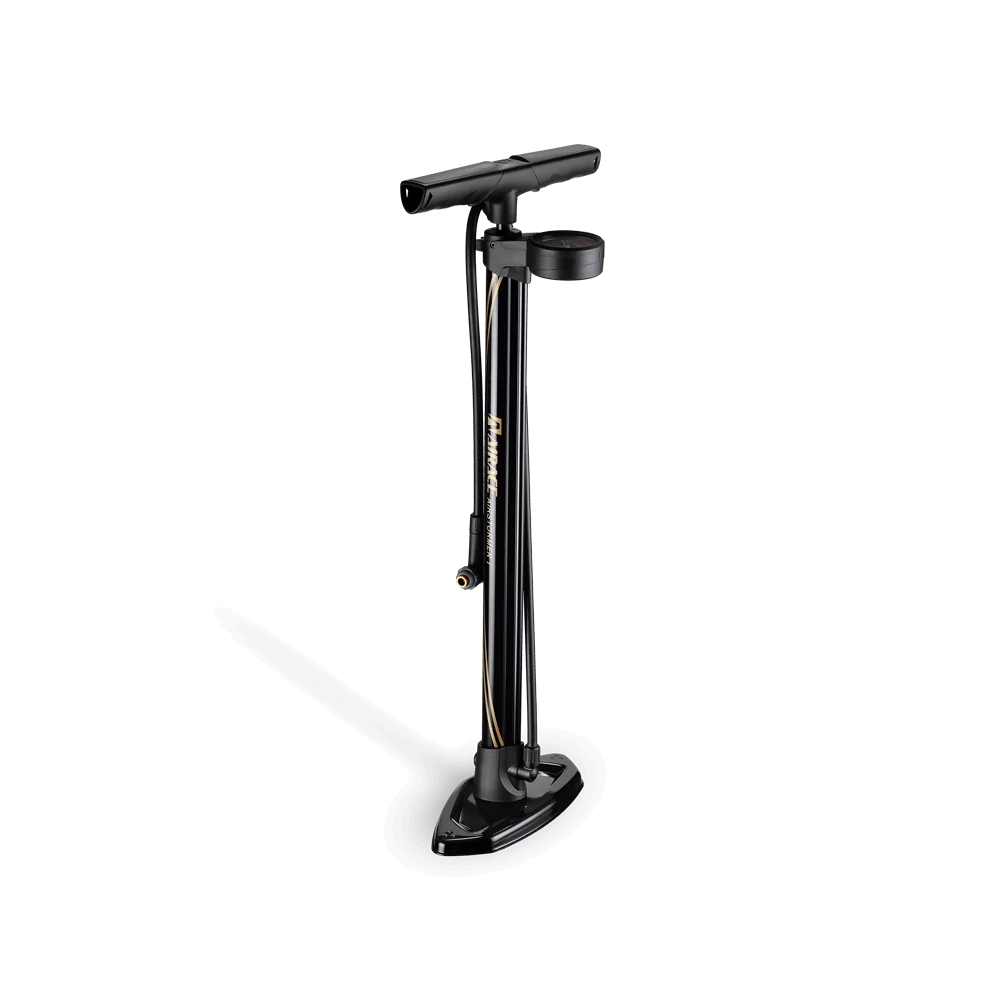
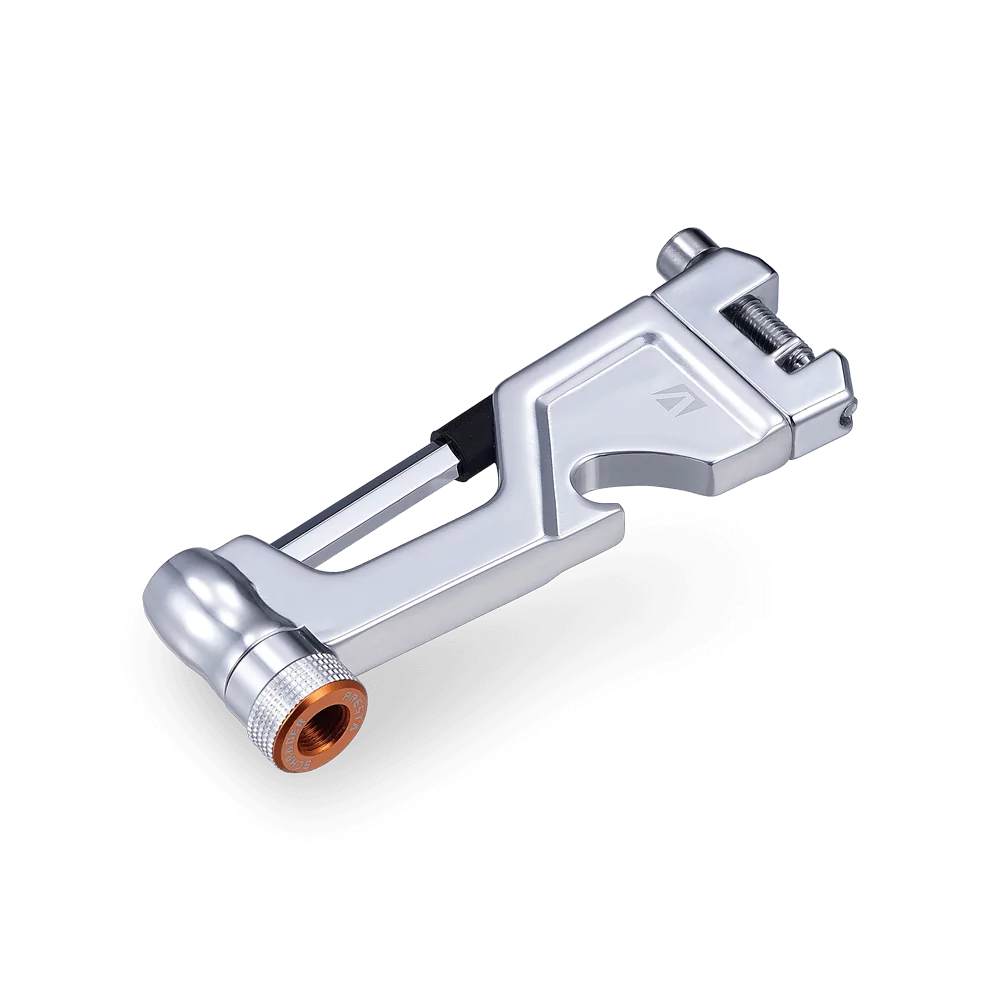
There are three basic options for shock pumps that depend on the type of bike you are riding as well as your personal preferences and accuracy requirements.
1. Standard Analog Dial Shock Pump
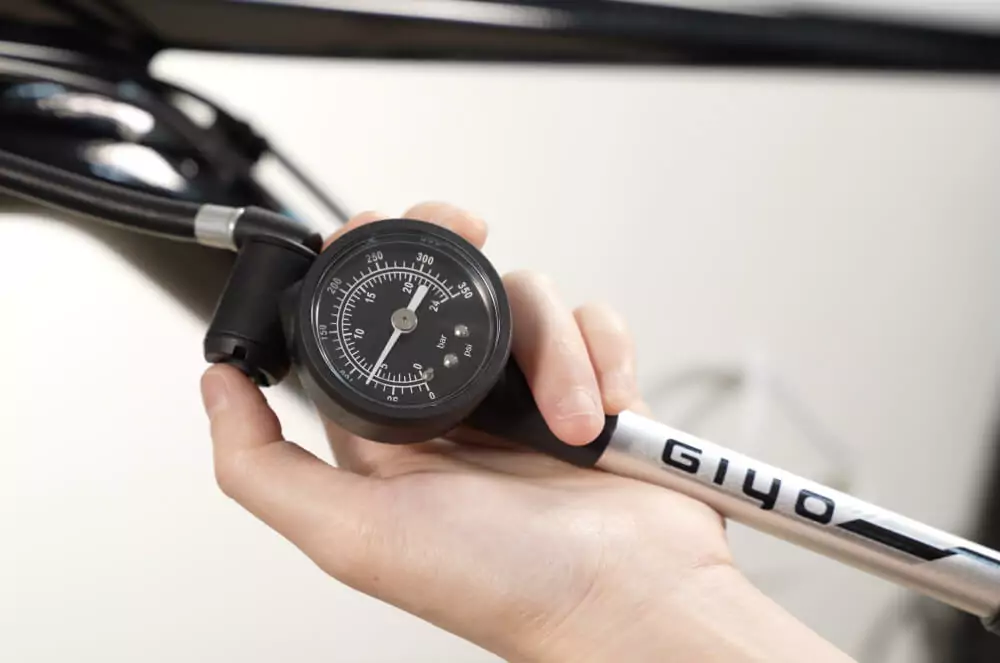
These analog MTB shock pumps are mainly rated for easy maintenance of front forks and provide a budget friendly option that will cover the needs of most riders. They usually have a pressure rating of 300-350 PSI which is enough for most shocks on the market.
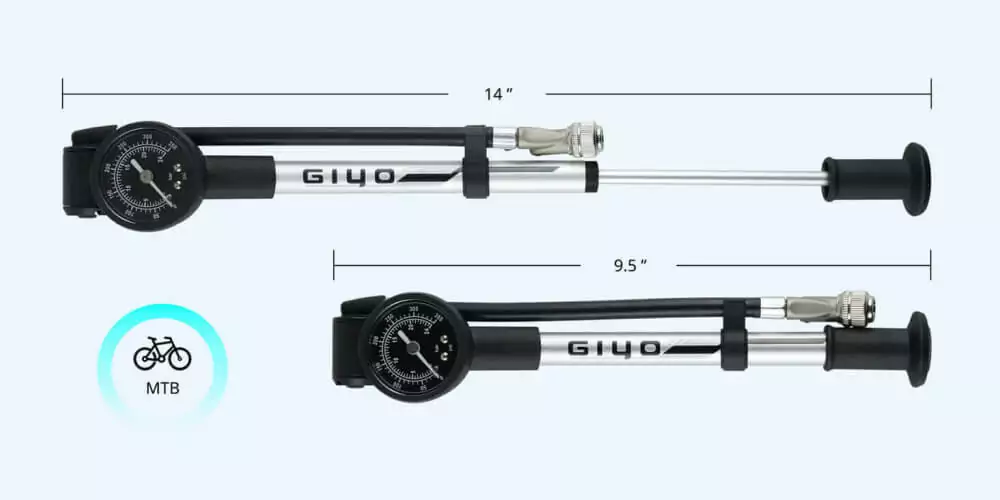
2. Turbo Analog Shock Pump
Turbo shock pumps are a step up from the standard pumps as they offer a unique pressure chamber design that allows for fewer strokes to achieve the same pressure rating. In the case of this Turbo shock pump, it can deliver the same pressure with 40% less pumping strokes than the standard model. If you are doing regular maintenance or maintaining multiple suspension systems, then this will save you a great deal of time and energy.
Because of the special design these pumps can deliver pressures of up to 600 PSI which is more than enough for any suspension set available.
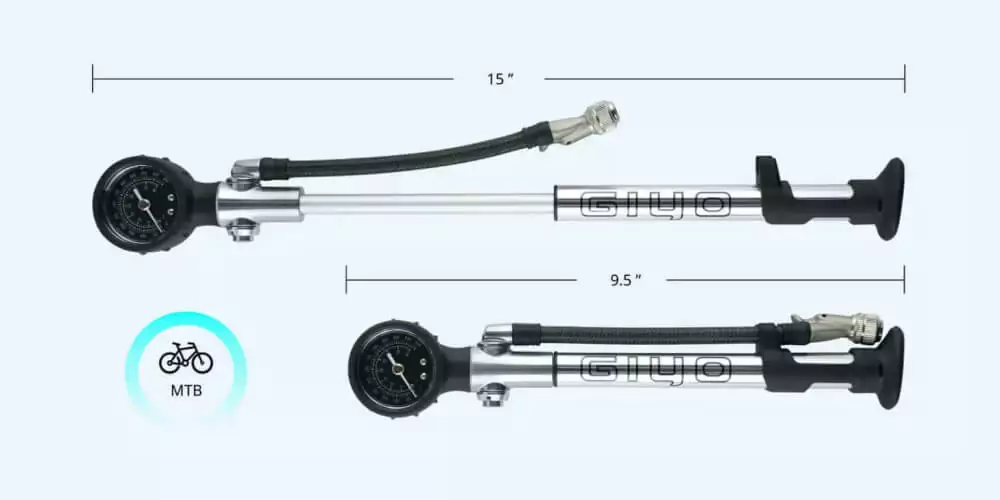
3. Turbo Digital Shock Pump
The turbo digital shock pump offers all of the same features as the other turbo pump but switches out the analog dial for a digital readout. Some riders prefer this and they find the digital dial much easier to read. The digital dial is also much more compact than the analog dial if you are concerned about carrying it around or sliding it into the pocket of a pack.
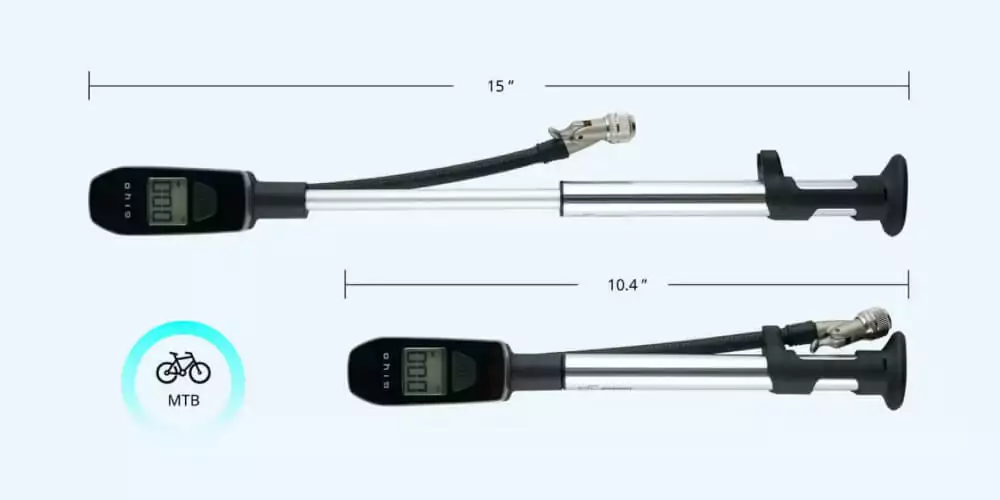
Pressure Release Button for Accurate Suspension Setting
All of the shock pumps feature a pressure release button that is situated on the side of the dial. This pressure release button allows you to pump up the suspension to a slightly higher value than needed and then you can precisely tune the pressure by pressing the button. It will release 1-2 PSI per press.
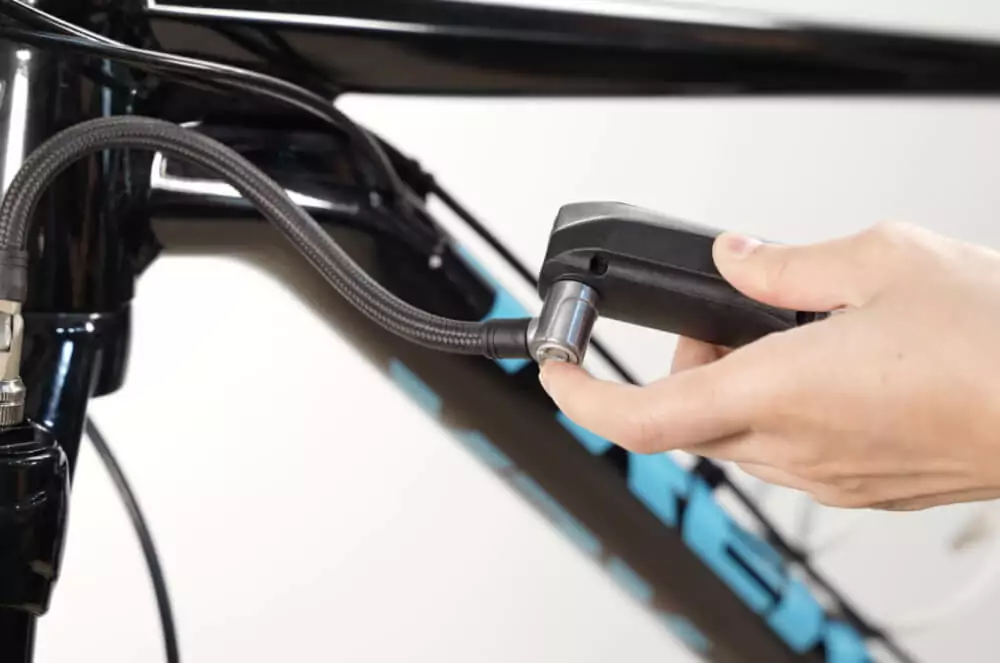
Measuring & Calibration of Sag with a Shock Pump
When setting your sag, wear your full riding gear, as additional weight from shoes, hydration packs, and helmets can significantly affect the setting. Always reset the sag indicator (the rubber O-ring on the shock shaft) before testing.
Testing sag is a critical step in setting up your mountain bike’s suspension. Begin by finding a friend to stabilize your bike by holding the handlebars. Mount your bike, placing your feet firmly on the pedals. Gently bounce a few times to settle into a natural position, then hold steady. Now, carefully adjust the sag indicator, moving it snugly against the canister. Next, smoothly dismount your bike. Observe the exposed portion of the shock’s shaft, located between the air canister and the sag indicator. This visible section represents your sag measurement. Apply the same process for your fork, utilizing the indicator on its stanchion. Conveniently, most modern air shocks and forks are pre-marked with percentage indicators to simplify the sag measuring and adjustment process.
Compression and Rebound: Fine-Tuning with a Shock Pump
Compression Settings
The compression setting, adjustable via a control knob, determines how your suspension handles downward forces. The ideal setting prevents bottoming out on small bumps and ensures full travel utilization. It’s a balancing act that depends on your riding style and the terrain.
Adjusting the compression setting is key to managing how quickly your suspension responds to downward forces. Begin with the control knob fully open, turned counterclockwise. To adjust, rotate the knob clockwise. If you turn it excessively, your suspension will sluggishly cycle through its full travel range. Conversely, minimal turning may lead to your suspension bottoming out on minor bumps. It’s essential to experiment with this setting to discover the ideal balance that aligns with your specific riding preferences and the terrain you tackle.
Rebound Adjustments
Fine-tuning the rebound adjustment on your mountain bike is crucial for achieving a ride that’s both comfortable and responsive. Rebound refers to the rate at which your suspension returns to its original position after being compressed. This adjustment is vital for ensuring that your bike handles well over varying terrain.
To start, locate the rebound adjustment knob on your fork or shock. This control is usually marked clearly for ease of use. The basic principle of rebound adjustment is to find a speed at which your suspension returns to full travel without causing the bike to feel overly springy or sluggish.
If the rebound is too slow, the suspension won’t have enough time to extend back to its full length before encountering the next obstacle. This can result in a less responsive ride and may make the bike feel as if it’s dragging or bogged down, especially in rough terrain. On the other hand, if the rebound is set too fast, your bike might feel unstable, bouncing excessively after each bump, much like a pogo stick. This can reduce control and make the ride uncomfortable.
To adjust the rebound, turn the knob and then test the bike’s response. A good starting point is to set the rebound in the middle range and then adjust incrementally from there. Pay attention to how the bike behaves as you ride over bumps and how quickly it stabilizes after absorbing a shock.
It’s important to remember that the optimal rebound setting can vary based on several factors. Your weight, riding style, and the type of terrain you are navigating all play a role in determining the best setting. For instance, heavier riders might need a slower rebound to prevent the bike from feeling too bouncy, while lighter riders might prefer a quicker rebound for a more responsive ride.
Additionally, your personal preference plays a significant role in setting the rebound. Some riders prefer a bike that quickly returns to its original position for a more lively feel, while others might opt for a slower rebound for a smoother, more controlled ride.
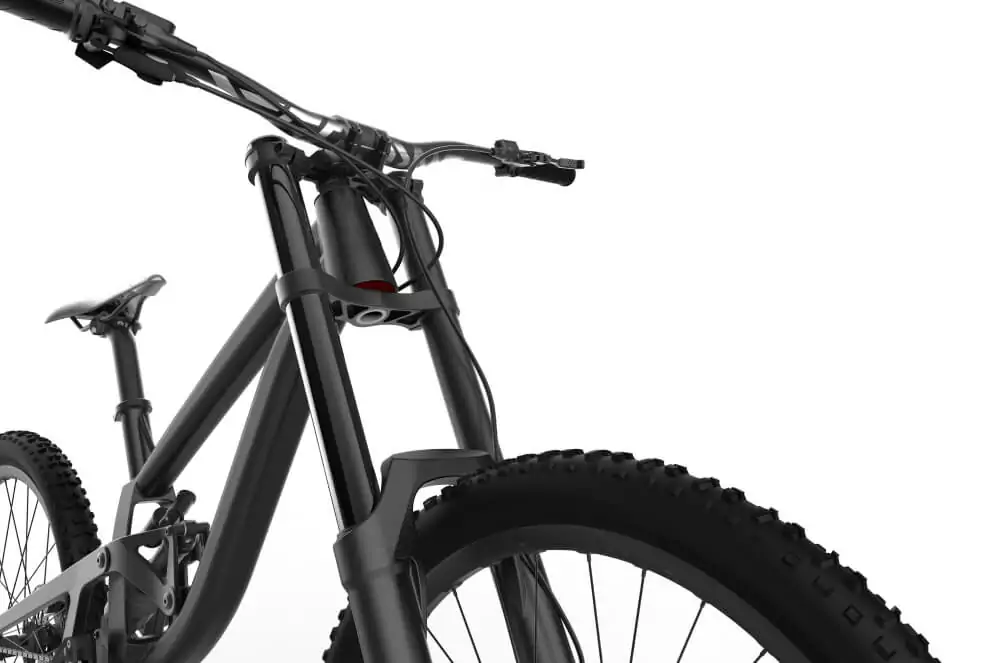
Maintaining Your Suspension: The Importance of Regular Checks and a Shock Pump
Regular suspension maintenance is key to a smooth ride. Changes in weather, storage conditions, and usage can affect shock pressure, making a shock pump an invaluable tool for routine checks. If you notice changes in suspension performance, sag is often the first aspect to investigate.
Routine Suspension Care
Lubricating pivots and linkages as per manufacturer guidelines and checking the tightness of bolts with a torque wrench are essential steps. Regular inspections for cracks, damage, and wear, especially on the rear linkage components, are crucial for safety and performance.
Post-ride cleaning of the fork stanchions and shock shaft is simple yet effective. Removing dirt and debris, particularly from areas where compression occurs, prolongs the life of your suspension.
Our shock pumps are available on our Amazon store here and they currently have a discount available at checkout, so please ha ve a look!
